


How to Buy Things Using i-Proc and eMarketplace
You’ll need to register with procurement first to be able to buy things on the university’s i-Proc system; we’ve provided a help page to guide you through this
process. Using i-Proc can be a nightmare at first until you become familiar with it. Fortunately we’ve gone through the rough and below are our tips on how
to use i-Proc and eMarketplace to perform the two most common purchasing tasks as researchers. Most of the time you should simply use eMarketplace to
buy things; however, sometimes the supplier you’re purchasing from isn’t on the university’s system, and so you’ll need to raise a ‘non-catalogue request’.
Task codes useful when ordering things from i-Proc (or filling in forms) can be found on our finance codes page.
NOTE 1: If you place an order using i-Proc which is over £500, then the order needs additional approval by the Head of School. Thus, once submitted in i-
Proc, you should remind / email whoever approves the requisition (the person in charge of the account you charged it to) to reassign that requisition to the
Head of School for additional approval.
NOTE 2: Dave Norwood can chase up i-Proc orders you’ve made if needed.
NOTE 3: i-Proc has undergone a facelift since the screenshots below were taken, but the content remains unchanged.
Purchasing using eMarketplace
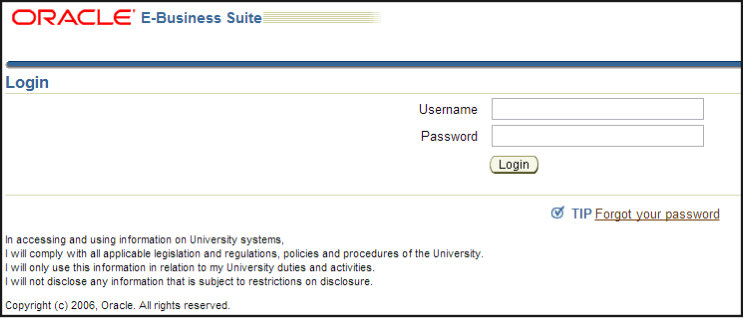
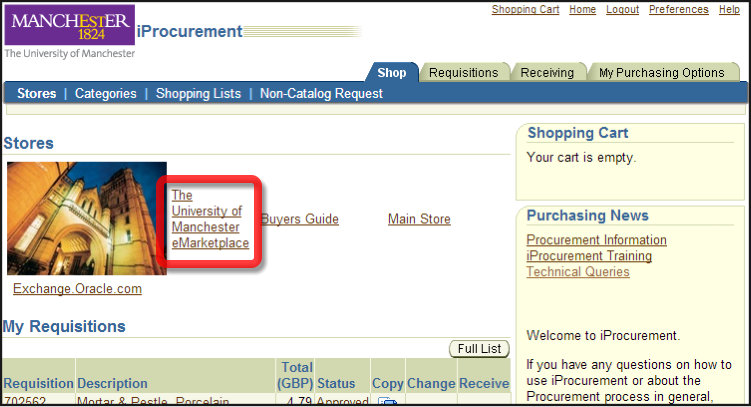
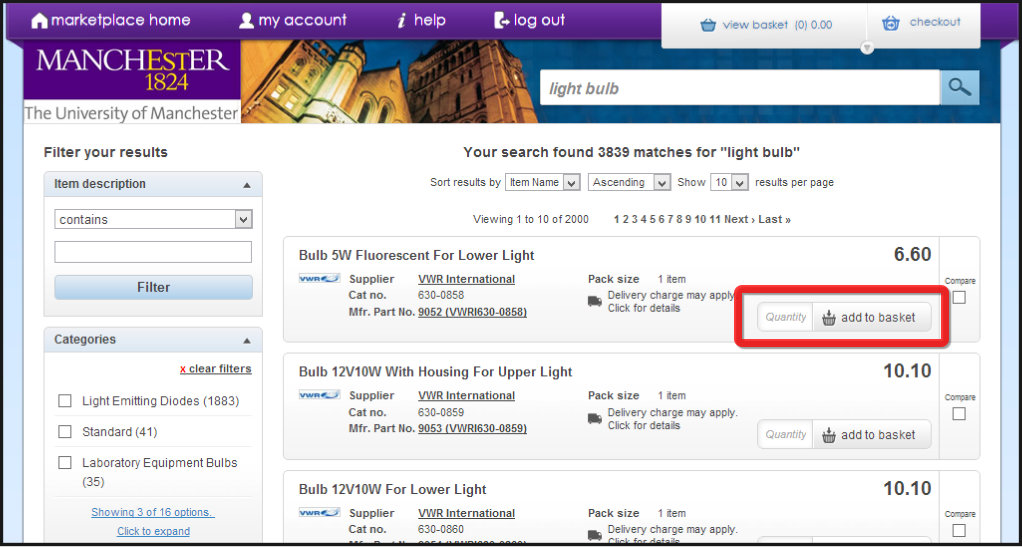
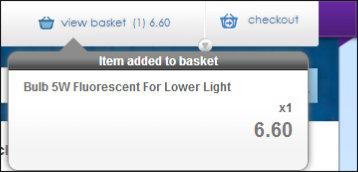
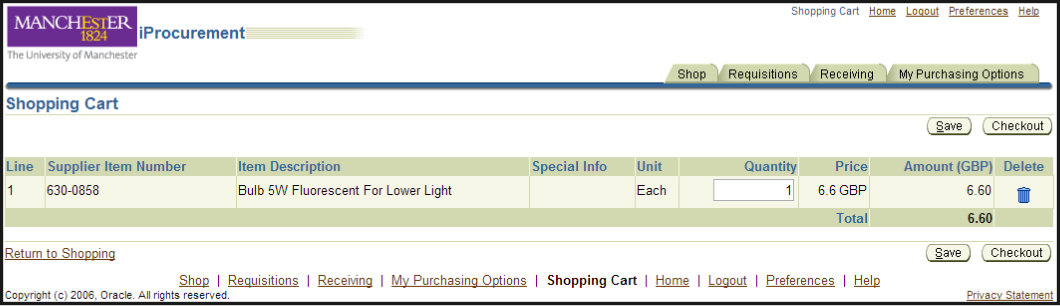
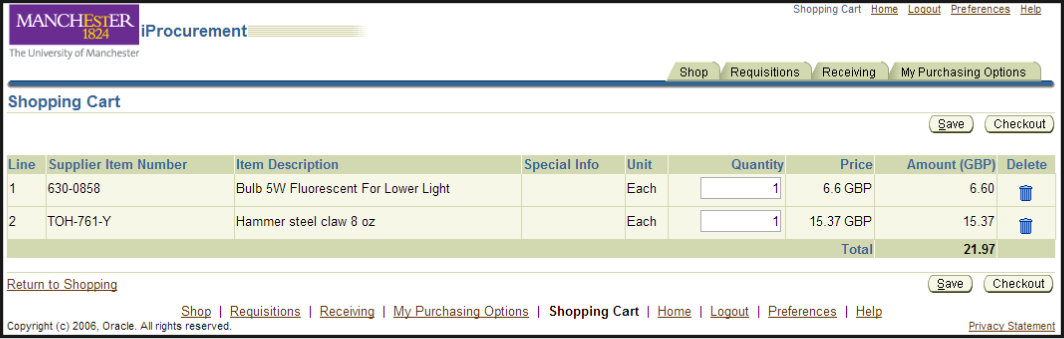
1. Go to i-Proc and log in (click image to enlarge) 2. Click on the eMarketplace link highlighted below 3. Enter product search criteria in search bar. Sometimes, the manufacturer’s website will list the product code which can help finding it. 4. Assuming you find what you want, enter the quantity and click add to basket. Repeat this for each item to be purchased (that are similar—see later). 5. When done, click the checkout button in the top right and this will take you back to i-Proc with the eMarketplace items in the basket. From this stage, follow the ‘checkout’ section instructions in the right panel. NOTE: During checkout, if you have brought from eMarketplace into i-Proc, multiple items which together have different expenditure codes (as shown in the example below), then at the i-Proc checkout, the ‘Charge account’ field will list “Multiple”. If you see this, you’ll have to identify which item has a different code and order that separately; in general it is usually less hassle to order items that are not obviously similar as separate orders.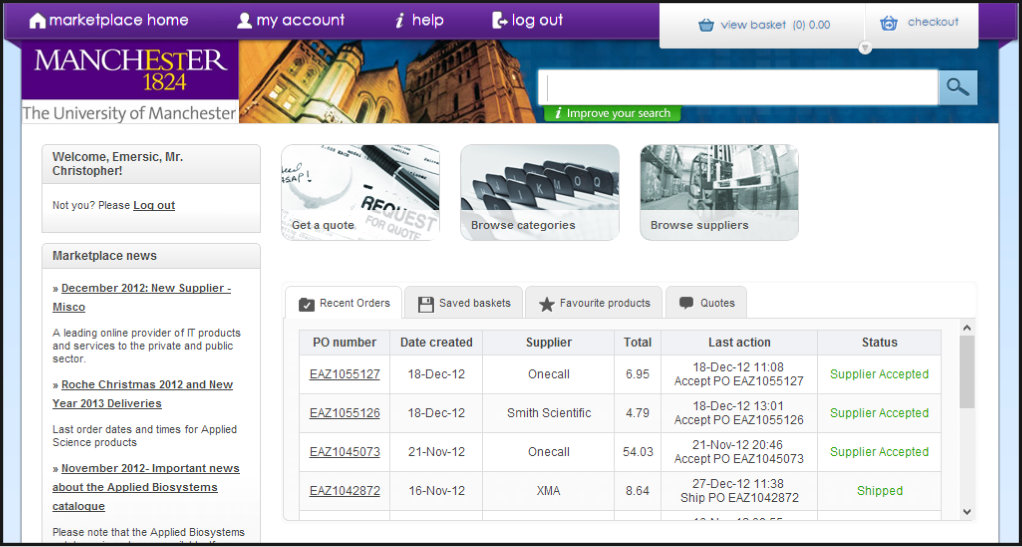

Raising a non-catalogue request
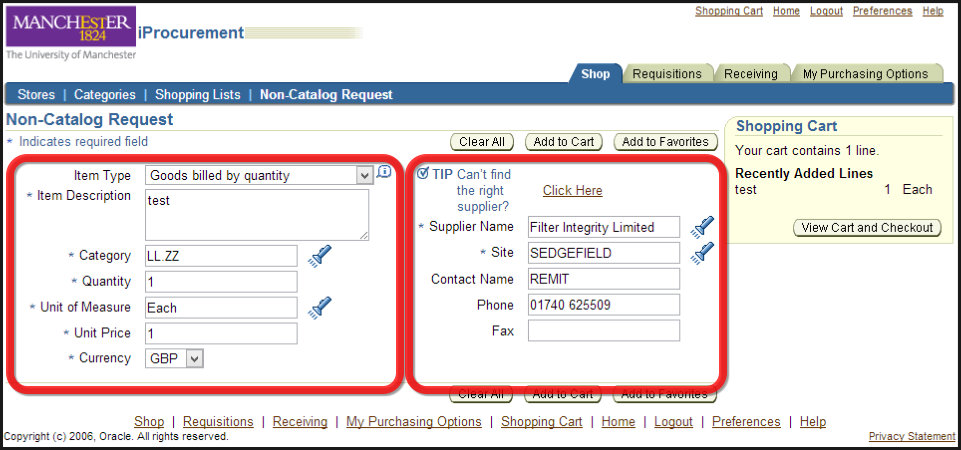
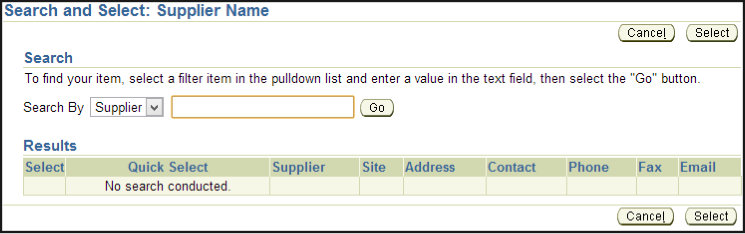
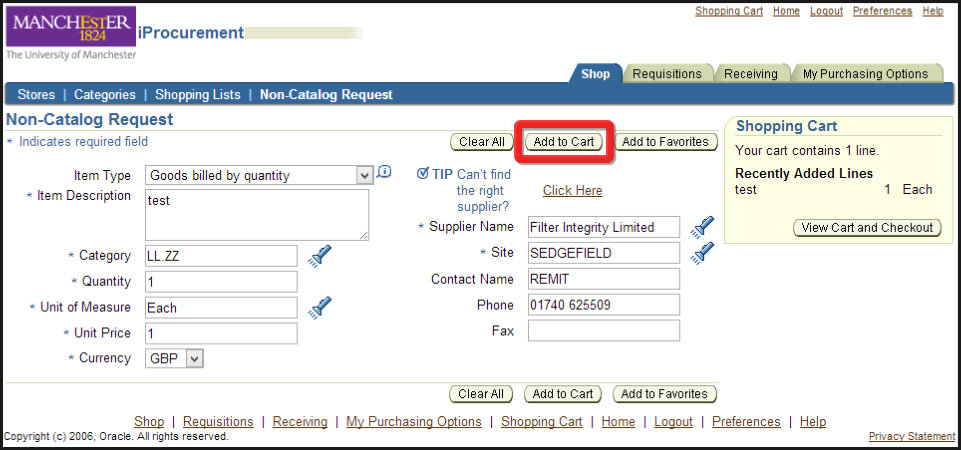
1. Go to i-Proc and log in (click image to enlarge) 2. Click the ‘Non-Catalogue Request’ link 3. Fill in the form. The left side contains item information; the right side contains supplier information. The category code can be found on our codes page (download the spreadsheet). For lab consumables (very common), it’s LK.ZZ. Note for single items, the Unit of Measure is “Each”. When you enter the price, for single items, list the full cost (inc. VAT + delivery). 4. When filling in the supplier, you can enter a keyword (or letter) and the % symbol as a wild card and click the torch to search, e.g. F%. The search menu is shown below. Select the correct supplier from those listed and click ‘Select’. This will populate the fields with the supplier information. Note if the supplier is not listed, then they may not be on i-Proc and you will have to find an alternative way of purchasing the item (e.g. credit card or one-off payment). If you are going to use them a lot, you should set them up as a new supplier so they’ll appear here to be selected. 5. When the non-catalogue request form is complete, click the ‘Add to cart’ button and the item will be added to the basket ready for checkout. From this stage, follow the ‘checkout’ section instructions in the right panel.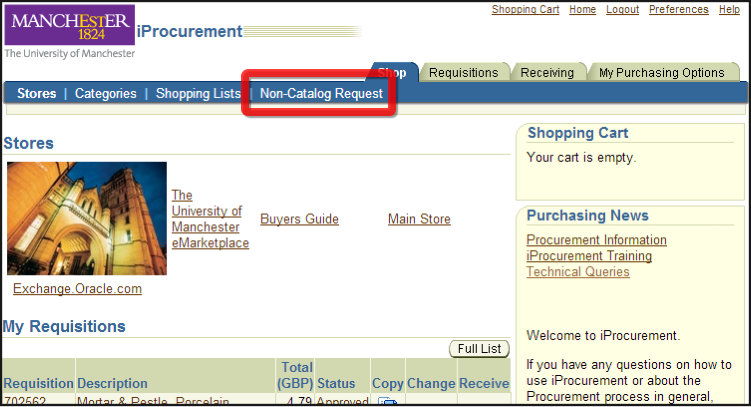
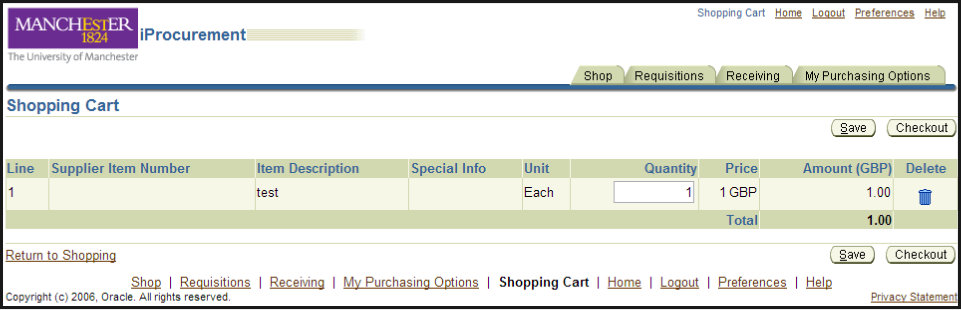
Checkout
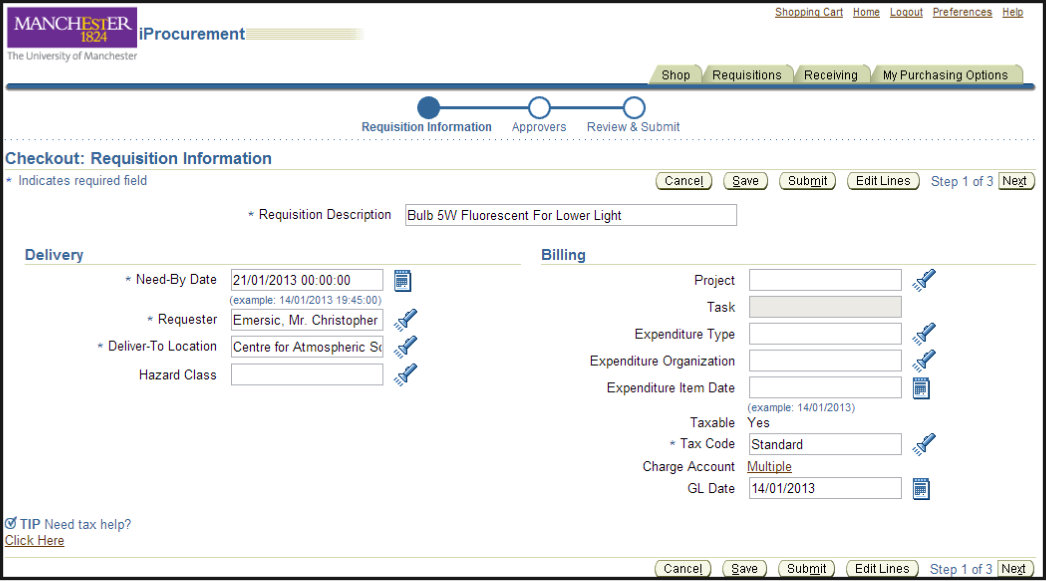
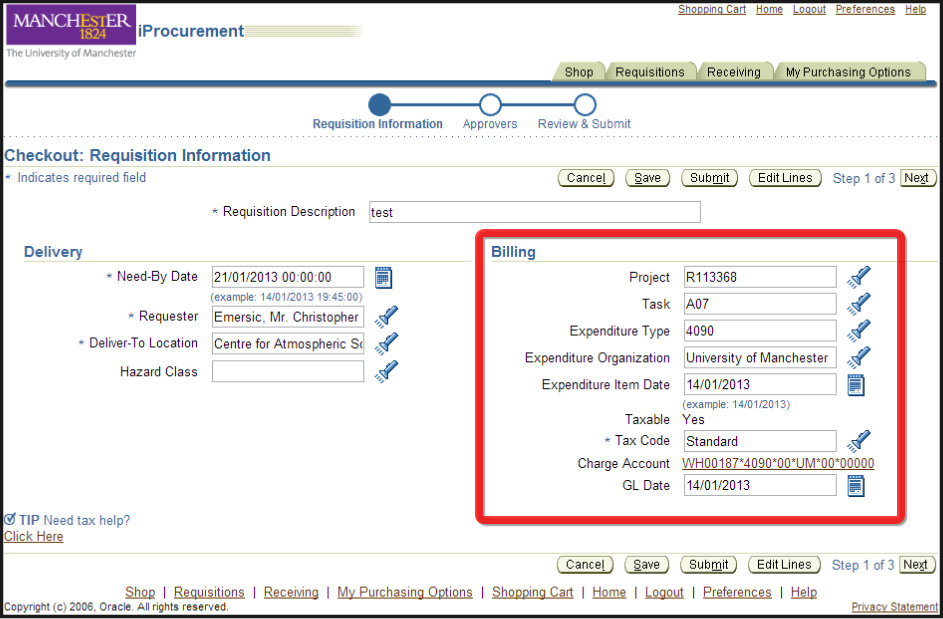
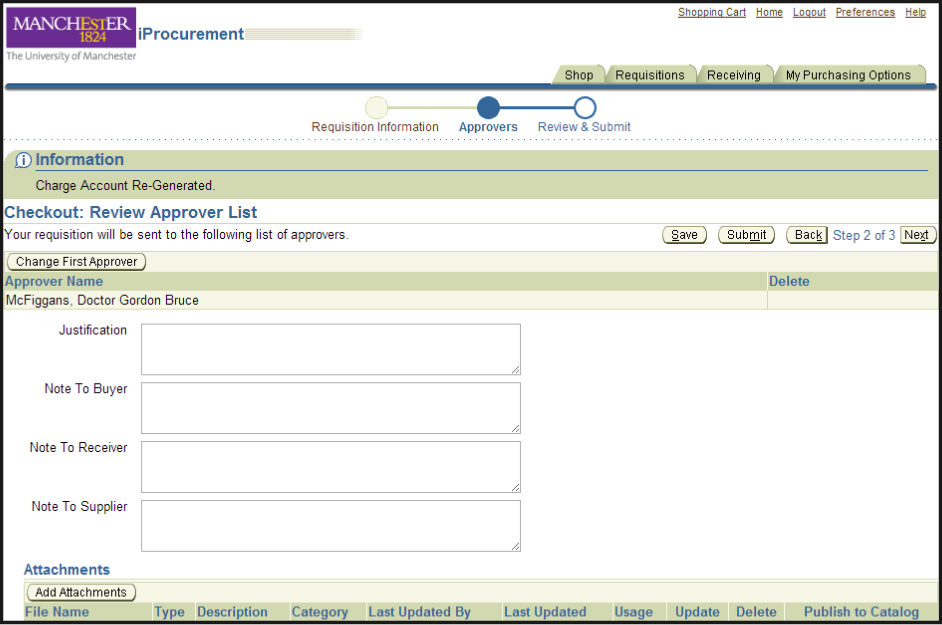
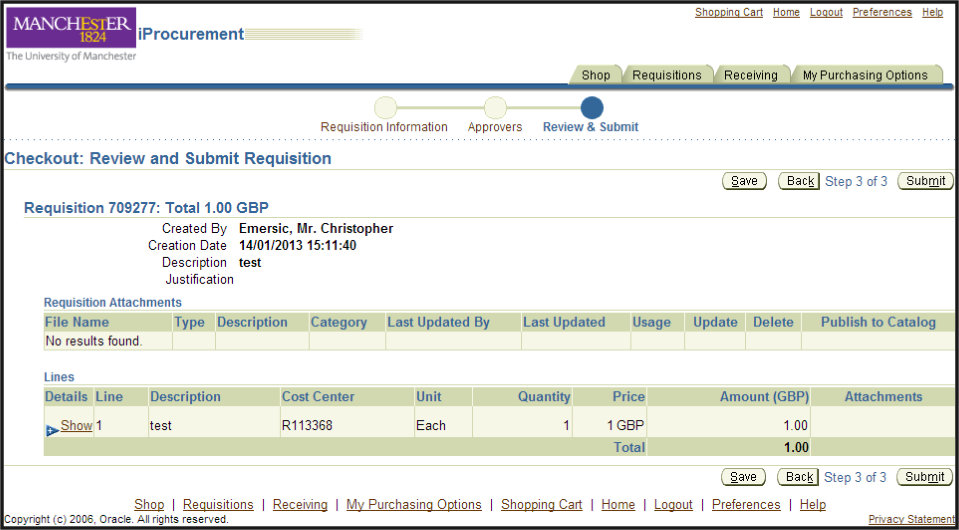
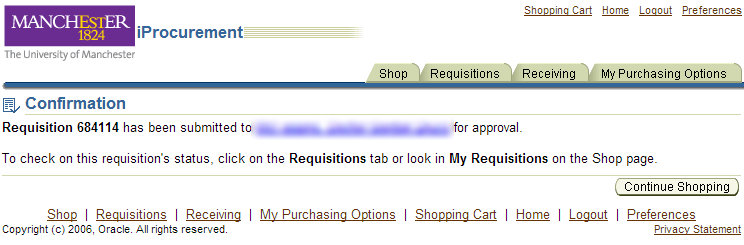
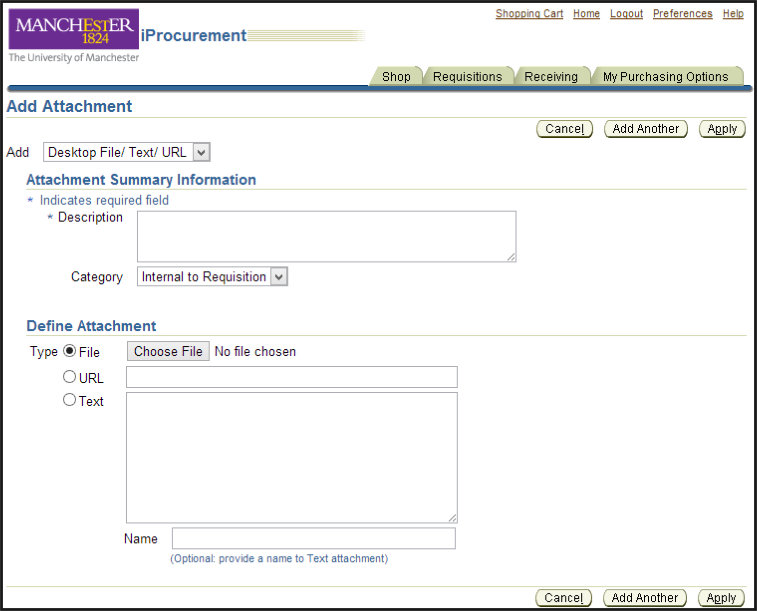
1. When you have items in your basket either from eMarketplace or a non-catalogue request and are ready to checkout, click the checkout button. 2. Checkout is a 3-step process. Step one is shown below. You just need to fill in the billing information here. a. Enter the project code (the charge code which you can get from your PI). b. Enter the task code. c. The ‘Expenditure Type’ can be determined from the ‘Charge Account’ field code; the second 4- digit number after the * gives the code (see note at bottom of left panel about what to do if this says “Multiple”). d. Expenditure Organisation is always “University of Manchester” e. Click the calendar button and select the highlighted date to populate the ‘Expenditure Item Date’ field. f. The rest of it can be ignored; click the next button. Note: When you’ve typed something in a field, you have to click out of it and let the page auto-update to continue—a proclivity of the software. 3. For checkout step 2, just enter a brief justification for the purchase (what it is and what it’s for). You can also add a note to the supplier with delivery instructions. NOTE: If you are ordering a computer, this is where you would attach your e-quote. Also note that this attachment is not saved if the order is rejected and needs resubmitting. 4. The final step is just a confirmation page 5. Once submitted, you will be shown the confirmation of the order. See the two notes in the paragraph at the top of the page for additional useful information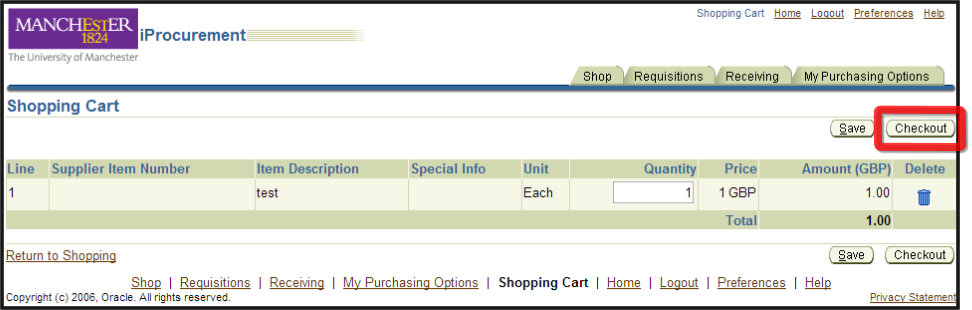


Rev. 34


- Day-to-day topics
- University-wide services
- School-level services
- Support hubs
- General finance support
- Finance Systems team and Oracle Financials
- Registering to buy things on i-Proc
- How to buy things on i-Proc / eMarketplace
- IE, category, and task codes
- Set up a new i-Proc supplier
- Buy a new computer
- Central Stores
- Credit card purchases
- Petty cash
- One-off payment forms
- Expensive orders (over £5k)
- Finance Hub and Finance Manager meetings
- Conferences and travel
- Advances
- Expense claims


Home > Day-to-day support > Finances overview > Using i-Proc
